UIKit에서 스토리보드 없이 개발환경 설정하는 방법
1. 프로젝트 생성(iOS-App)

2. interface: StoryBoard 선택

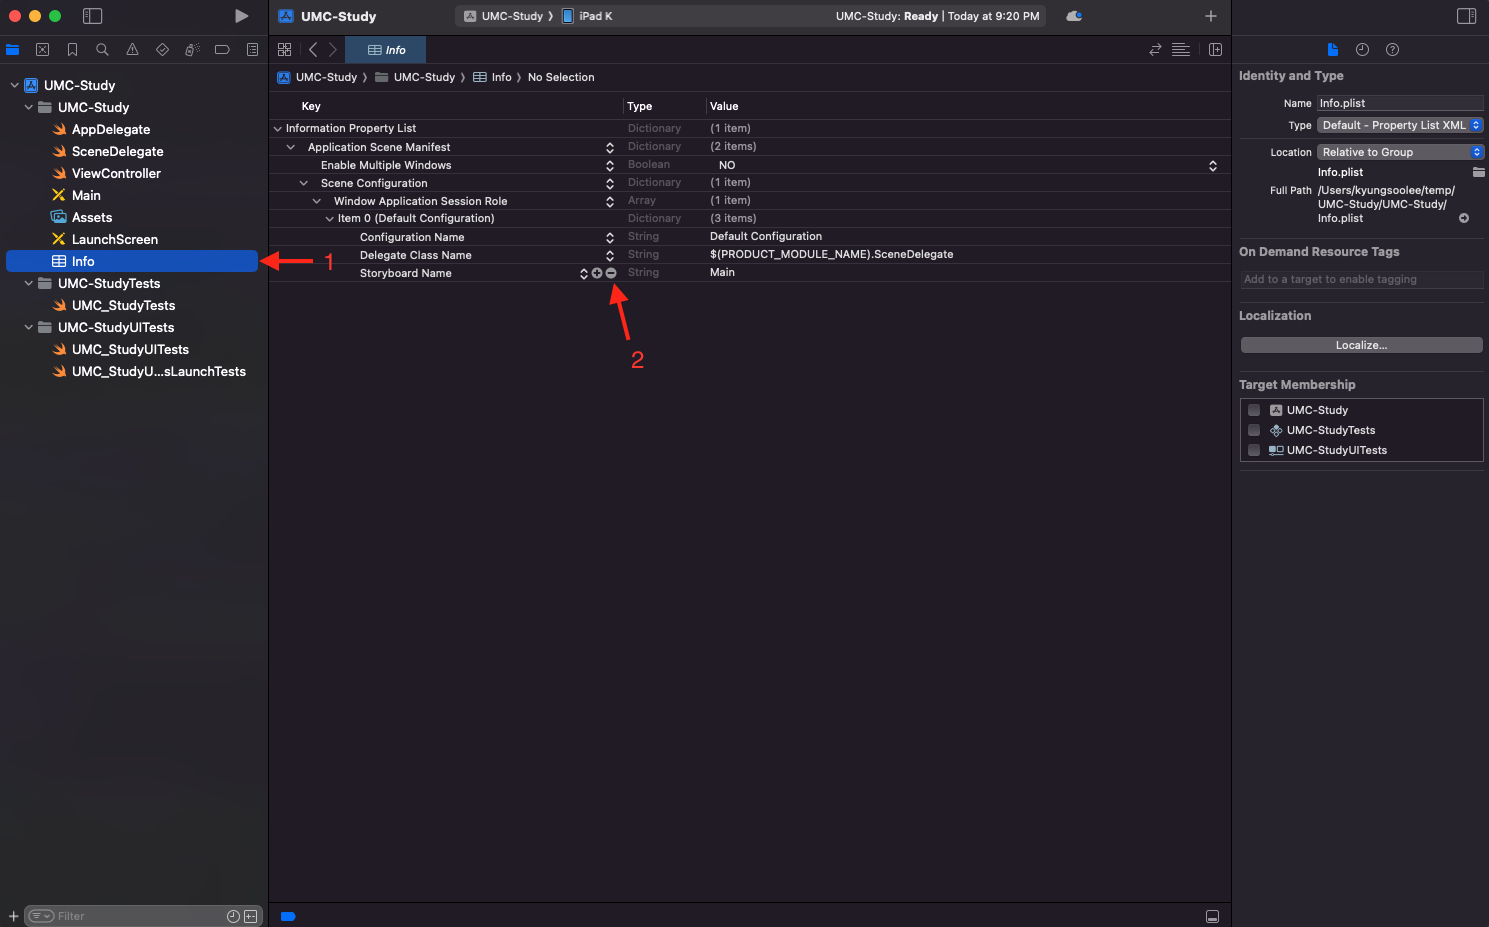
3. Info.plist에서 StoryboardName을 삭제
4. 왼쪽 목록에서 프로젝트를 눌러 TARGETS → Builid Settings → storyboard를 검색 후 “UIKit Main Storyboard File Base Name”을 삭제

5. SceneDelegate에 func scene()을 아래 코드와 같이 변경

 func scene(_ scene: UIScene, willConnectTo session: UISceneSession, options connectionOptions: UIScene.ConnectionOptions) {
         // Use this method to optionally configure and attach the UIWindow `window` to the provided UIWindowScene `scene`.
         // If using a storyboard, the `window` property will automatically be initialized and attached to the scene.
         // This delegate does not imply the connecting scene or session are new (see `application:configurationForConnectingSceneSession` instead).
         guard let windowScene = (scene as? UIWindowScene) else { return }

         let window = UIWindow(windowScene: windowScene)

         // 처음 보일 main ViewController
         let rootViewController = ViewController()

         // NavigationController 설정
         let navigationController = UINavigationController(rootViewController: rootViewController)

         // 위에서 만든 viewController를 첫 화면으로 설정(navigationController로 설정
         window.rootViewController = navigationController

         // 화면에 보이게 설정
         window.makeKeyAndVisible()

         self.window = window
     }
6. 좌측 목록에서 Main 스토리보드를 삭제

'UIKit' 카테고리의 다른 글
| 코드베이스로 UITextField 구현하기 (1) | 2023.10.06 |
|---|---|
| 코드베이스로 UIButton 구현하기 (1) | 2023.10.05 |
| 코드베이스로 UILabel 구현하기 (0) | 2023.10.04 |
| 코드베이스로 UIView 작성하기 (0) | 2023.10.03 |
| UIKit에서 SwiftUI처럼 Preview를 사용하는 방법 (4) | 2023.10.02 |


